Posted : John Doe
December 28, 2022
2229 Views
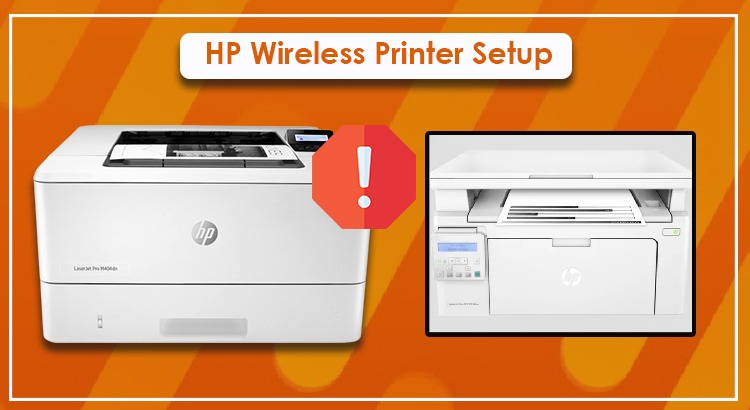
HP Wireless Printer Setup – Connect Your Printer to Wi-Fi
With HP printer wireless features, there is no need to establish a physical connection between devices to get desired prints for personal & professional uses. Therefore, many HP users are eager to learn how HP wireless printer setup works so that they can take prints from the same printer in the network through any connected device.
So, If you are someone who wants to experience HP printer wireless facility, keep reading the blog till the end.
HP Wireless Printer Setup Without CD
Here, you can get the simple step-by-step procedure to connect your HP printer to wifi with and without a CD.
- To get started with the process, make sure you have your HP printer user manual.
- Next, find and press the “Power” button given on the printer to turn it on the printer.
- After that, connect the printer to the wifi router once it is turned on.
- Furthermore, the HP printer office site to download and install the updated printer drivers.
- To download the printer drivers, ensure to get the printer model number first. This will help you to get the most reliable drivers for your device.
- After the drivers are downloaded, the drivers’ file will be saved on your PC with the .exe name.
- Now, you need to install the drivers by double-clicking on that executable file.
- In addition, click on the “Install” button to install drivers on your computer system.
- Besides, you can also install the “HP Smart App” from HP’s official website so that printer can be installed without hurdles.
- After the “Smart App” is installed, follow the instructions displayed on your screen.
- Ultimately, you can print documents after the HP printer setup is done.
HP Wireless Printer Setup With CD
Connecting the HP printer to a wifi network using CD is a simple process that will require you to insert CD into the hard drive & follow on-screen instructions.
- First, connect the HP printing device to a wifi network.
- Also, make sure the printer is connected to the router appropriately.
- Now, you need to verify your name and password.
- After that, click on your CD icon by going to “MY Computer”.
- Then, you will have to give confirmation by clicking on the “Next” option.
- Continue following the on-screen instructions unit it is finished.
- Afterward, click on “Install” and your HP printer will be connected to your PC automatically.
- Next, install papers in the printer’s tray and ink cartridges should be connected to the printer well.
- Here, choose your documents to print and adjust font settings based on your requirements.
- Simply, follow the instructions to print your files.
Hopefully, you have set up your HP printer wirelessly.
HP Wireless Printer Setup Windows
Read the given steps to connect HP wireless printer to your Computer or Windows.
- If you have bought a new printer, unbox it by removing its covers and all protective tapes.
- Also, make sure all the packing materials have been removed from the ink cartridges and printer’s tray.
- Now, plug in your printer and switch it on.
- Then, go to the “Control panel” to adjust the date, time, and region.
- After that, install ink cartridges to your printer.
- Before installing cartridges to your printer, make sure all the tapes are removed.
- Besides this, install the cartridges in the correct slot.
- Be careful while inserting the cartridge otherwise it may get damaged.
- Thereafter, load the correct size papers in the tray of the printer.
- Now, download and install the printer drivers from HP’s official website.
- You will have to provide the printer model number and the version of your PC after which, the required drivers will be downloaded.
- After drivers are installed, you can choose your connection type by completing the instructions given on the screen.
HP Wireless Printer Setup Mac
If you are a Mac user, follow the given process to connect your printer to a wifi network.
- To begin with, you should have a Mac device that you need to turn on.
- Thereafter, go to “Apple Menu” and click on the “System Preferences” option.
- Then, click on the “Printer & Scanner” option.
- Later, find and click the “Add” button to add your printer to your Mac device.
- Click on the “Add” button, choose your HP device, and click “OK” to let the process complete.
- Follow the instructions shown on the screen to connect the printer to Mac.
- We would recommend you reboot your Mac device if your encounter any issues during printing.
HP Printer Setup Using USB
- First, keep your printer within range of your computer and make sure wires or USB can easily connect the Printer to your PC.
- Now, plug in your device so that electricity can make the device function in a good manner. Then, power on the printer by pressing the “Power” button.
- Moreover, insert the cable into the correct USB slot of your computer. The USB cable should be attached tightly.
- Access the “Control Panel” and click the “Device & Printer” option.
- After that, you will find the “Add a new printer or scanner” option on the screen. Simply, click on it and proceed further.
- Then, you will see the name of the HP printer.
- So, click on “Add Device”.
- Finally, click “Next” and follow the on-screen instructions to finish the task.
Conclusion
We believe that you have understood HP Wireless Printer Setup on Windows and Mac devices successfully. But in case, you face any issues and find yourself unable to figure it out, just let us know by sending your queries. We will provide you with all possible HP Help and Support.’
Categories